|
Relay no.
|
Photo |
Contact Capacity
|
Max. Allowable Current
|
Max. Allowable Voltage
|
Details
|
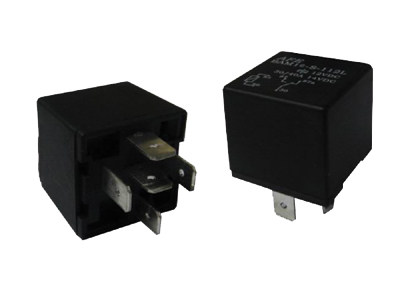
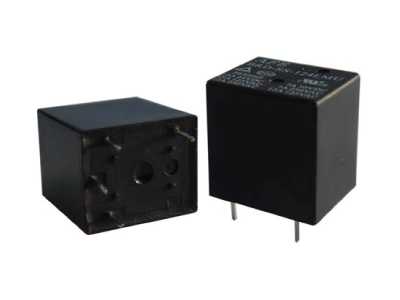
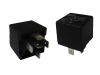
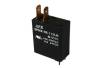
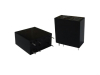
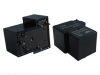
| BAL10/11 |
 |
BAL10/11-DM: 30A at 14VDC
15A at 28VDC
|
BAL10/11-DM: 30A
|
BAL10/11- DM: DC28V
|
PDF
|
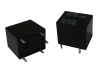
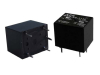
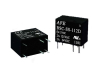
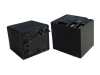
| BAM10/11 |
 |
BAM10/11-D: 30A at 14VDC
BAM10/11-DM: 40A at 14VDC
|
BAM10/11-D: 30A
BAM10/11-DM: 40A
|
BAM10/11-D/DM: DC14V
|
PDF
|
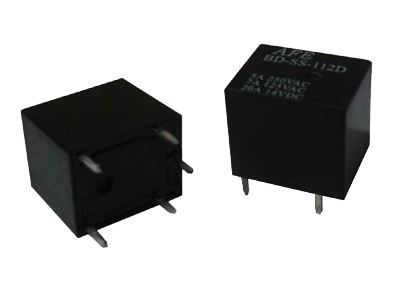
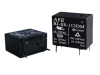
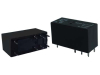
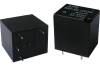
| BD |
 |
BD- D/DM/DB: 5A at 250VAC
7A at 125VAC
20A at 14VDC
|
BD-D/DM/DB: 20A
|
BD-D/DM/DB: AC250V DC14V
|
PDF
|
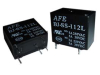
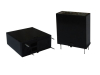
| BHC (1P/2P/3P) |
 |
BHC: 20-40FLA
|
BHC: 40A
|
BHC: 277VAC
|
PDF
|
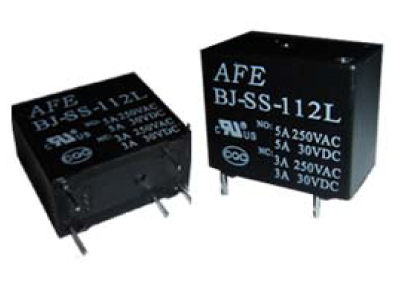
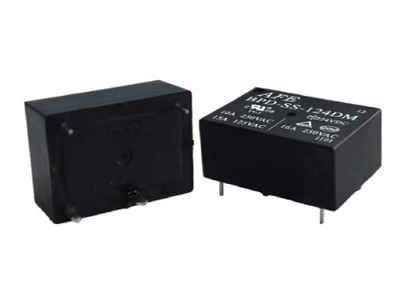
BJ-M
(1 From A) |
 |
BJ-DM/LM: 10A at 125VAC
5A at 250 VAC
5A at 30 VDC
BJ-DMF/LMF: 10A at 250VAC
10A at 30 VDC
|
BJ-DM/LM/DMF/LMF: 10A
|
AC250V. DC30V
|
PDF
|
BJ
(1 From C) |
 |
BJ-D(L): NO:5A at 250VAC
NC:3A at 250VAC
BJ-DF: NO:8A at 250VAC
NC:5A at 250VAC
|
BJ-D/L: NO:5A
NC:3A
BJ-DF: NO:8A
NC:5A
|
BJ-D/L: AC250V. DC30V
|
PDF
|
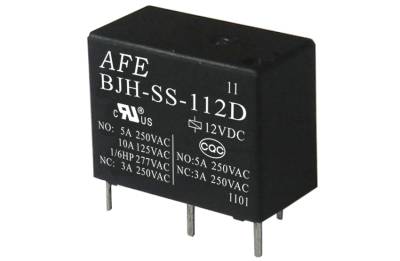
| BJH |
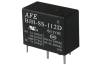 |
BJH-L/LM/D/DM: NO: 5A at 250VAC
10A at 125VAC
1/6 HP at 277VAC
NC: 3A At 250VAC
|
BJH-L/LM/D/DM: 10A
|
BJH-L/LM/D/DM: AC277V
|
PDF
|
| BJS |
 |
BJS-LM: 5A at 250VAC
|
BJS-LM: 5A
|
BJS-LM: AC250V
|
PDF
|
| BPD |
 |
BPD-DM: 16A at 250VAC
15A at 125VAC
10A at 250VAC
|
BPD-DM: 16A
|
BPD-DM: AC250V
|
PDF
|
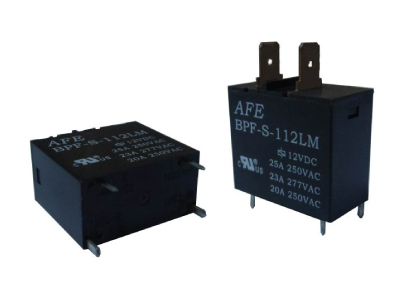
| BPF |
 |
BPF- LM: 25A at 250VAC
|
BPF- LM: 25A
|
BPF- LM: AC250V
|
PDF
|
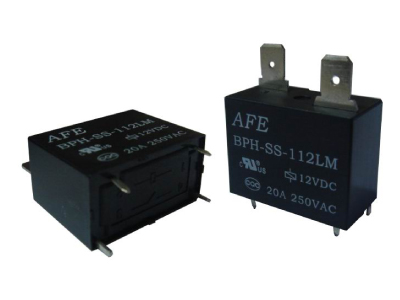
| BPH (/P PCB ONLY) |
 |
BPH-LM/LMP: 20A at 277VAC
1 HP 120VAC
2 HP 240VAC
|
BPH-LM/LMP: 20A
|
BPH-LM/LMP: AC277V
|
PDF
|
| BPM1 |
 |
BPM1-L/LM: 10A at 250VAC
10A at 30VDC
|
BPM1-L/LM: 10A
|
BPM1-L/LM: AC250V DC30V
|
PDF
|
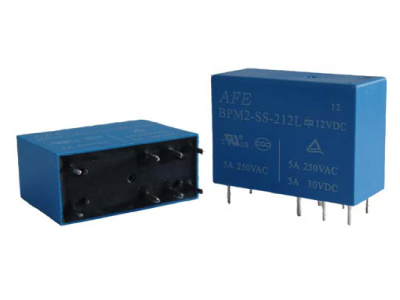
| BPM2 |
 |
BPM2-L/LM: 5A at 250VAC
5A at 30VDC
|
BPM2-L/LM: 5A
|
BPM2-L/LM: AC250V DC30V
|
PDF
|
| BPM3 |
 |
BPM3-L/LM/LH/LMH: 16A at 250VAC
16A at 30VDC
|
BPM3-L/LM/LH/LMH: 16A
|
BPM3-L/LM/LH/LMH: AC250V DC30V
|
PDF
|
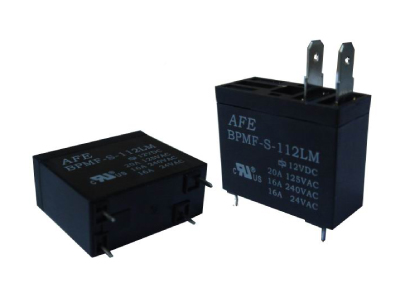
| BPMF |
 |
BPMF-LM: 16A at 250VAC
|
BPMF-LM: 16A
|
BPMF-LM: AC250V DC30V
|
PDF
|
| BPMK |
 |
BPMK-LM: 16A at 250VAC
16A at 30VDC
|
BPMK-LM: 16A
|
BPMK-LM: AC250V DC 30V
|
PDF
|
| BRD |
 |
BRD: 15A at 125VAC
12A/7A at 250VAC
BRD-LM: TV-5 at 125VAC
|
BRD: 15A
|
BRD: AC250V
|
PDF
|
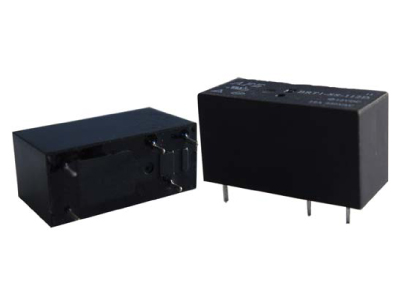
| BRT1 |
 |
BRT1-L/D/LM/DM: 12A at 250VAC
|
BRT1-L/D/LM/DM: 12A
|
BRT1-L/D/LM/DM: AC250V
|
PDF
|
| BRT2 |
 |
BRT2-L/D/LM/DM: 8A at 250VAC
|
BRT2-L/D/LM/DM: 8A
|
BRT2-L/D/LM/DM: AC250V
|
PDF
|
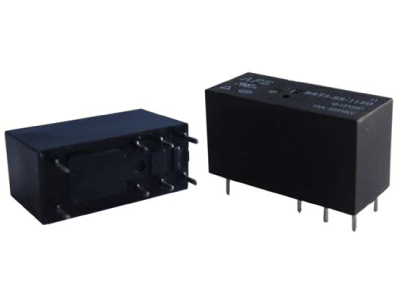
| BRT3 |
 |
BRT3-L/D/LM/DM: 16A at 250VAC
|
BRT3-L/D/LM/DM: 16A
|
BRT3-L/D/LM/DM: AC250V
|
PDF
|
| BRU |
 |
BRU-L/LM/LB: 10A at 250VAC
20A at 125VAC
10A at 30VDC
|
BRU-L/LM/LB: 20A
|
BRU-L/LM/LB: AC250V,DC30V
|
PDF
|
| BSA1 |
 |
BSA1-DM: 10A at 250VAC
10A at 30VDC
BSA1-LM: 5A at 250VAC
5A at 30VDC
|
BSA1-DM: 10A
BSA1-LM: 5A
|
BSA1-DM/LM: AC250V DC30V
|
PDF
|
| BSA2 |
 |
BSA2-DM3: 3A at 125VAC
3A at 24VDC
BSA2-DM5: 5A at 240VAC
5A at 30VDC
|
BSA2-DM3: 3A
BSA2-DM5: 5A
|
BSA2-DM3: AC125V DC24V
BSA2-DM5: AC240V DC30V
|
PDF
|
| BSC |
 |
BSC-L/D/LM/DM: 2A at 125VAC
2A at 24VAC
|
BSC-L/D/LM/DM: 2A
|
BSC-L/D/LM/DM: AC125V,DC24V
|
PDF
|
| BSVR |
 |
BSVR-L: 1A at 125VAC
1A at 30VDC
|
BSVR-L: 1A
|
BSVR-L: AC125V,DC30V
|
PDF
|
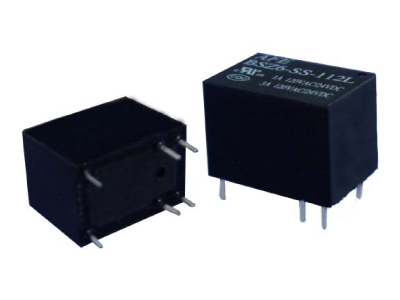
| BSZ5 |
 |
BSZ5-L/LM: 1A at 125VAC
1A at 24VAC
|
BSZ5-L/LM: 1A
|
BSZ5-L/LM: AC125V,DC24V
|
PDF
|
| BSZ6 |
 |
BSZ6-L/LM: 3A at 125VAC
3A at 24VAC
|
BSZ6-L/LM: 3A
|
BSZ6-L/LM: AC125V,DC24V
|
PDF
|
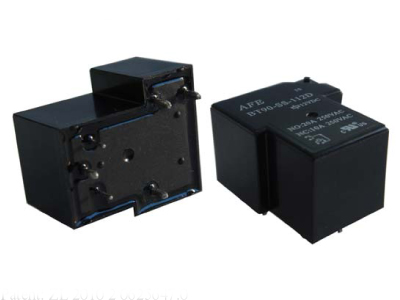
| BT90 |
 |
BT90- D: 20A at 250VAC
BT90-DM/DB: 30A at 250VAC
|
BT90-D: 20A
BT90-DM/DB: 30A
|
BT90-D/DM/DB: AC250V
|
PDF
|
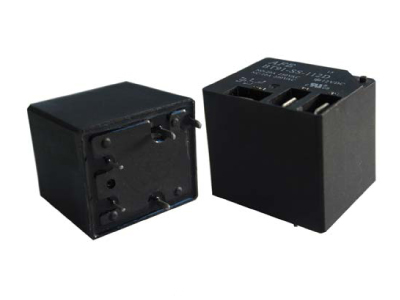
| BT91 |
 |
BT91-D: 20A at 250VAC
BT91-DM/DB: 30A at 250VAC
|
BT91-D: 20A
BT91-DM/DB: 30A
|
BT91-D/DM/DB: AC250V
|
PDF
|
| BT92 |
 |
BT92-D: 20A at 250VAC
BT92-DM/DB: 30A at 250VAC
|
BT92-D: 20A
BT92-DM/DB: 30A
|
BT92-D/DM/DB: AC250V
|
PDF
|
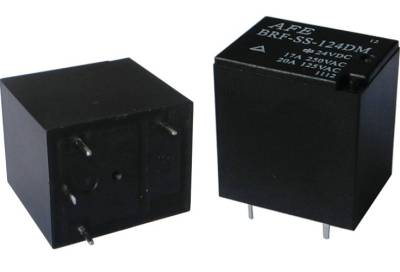
| BRF |
 |
BRF-D/DM/DB: 17A at 250VAC
BRF-DM: 20A at 125VAC |
BRF-D/DM/DB: 17A
BRF-DM 20A |
BRF-D/DM/DB: AC250V |
PDF |
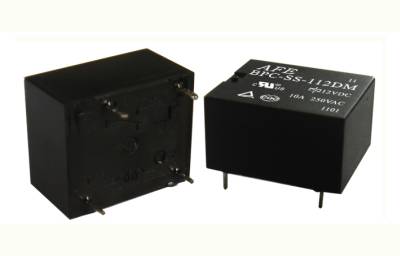
| BPC |
 |
BPC-LM/DM: 10A at 250VAC |
BPC-LM/DM: 10A |
BPC-LM/DM: AC250V |
PDF |
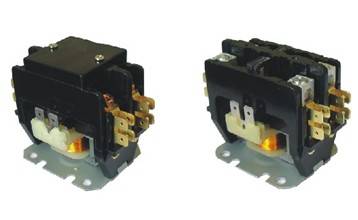
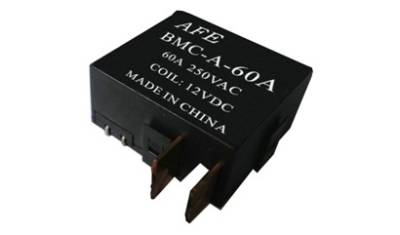
BMC(60A)
BMC(80A)
BMC(100A) |
 |
BMC-60A at 250VAC
BMC-80A at 250VAC
BMC-100A at 250VAC |
BMC: 60A
BMC: 80A
BMC: 100A |
BMC:AC250V
BMC:AC250V
BMC:AC250V |
PDF
PDF
PDF |
| BAE(1C/ 2C) |
 |
BAE-1C: 15A at 125VAC
BAE-2C: 10A at 125VAC |
BAE-1C : 15A
BAE-2C: 10A |
BAE-1C: AC250V
BAE-2C: AC250V |
PDF |
| BAET (2C/3C/4C) |
|
BAET-2/3C: 7A at 250VAC
BAET-4C: 5A at 250VAC |
BAET-2/3C: 7A
BAET-4C: 5A |
BAET-2/3C: AC250V
BAET-4C: AC250V |
PDF |